SD; MM; PP
MD04; CO09
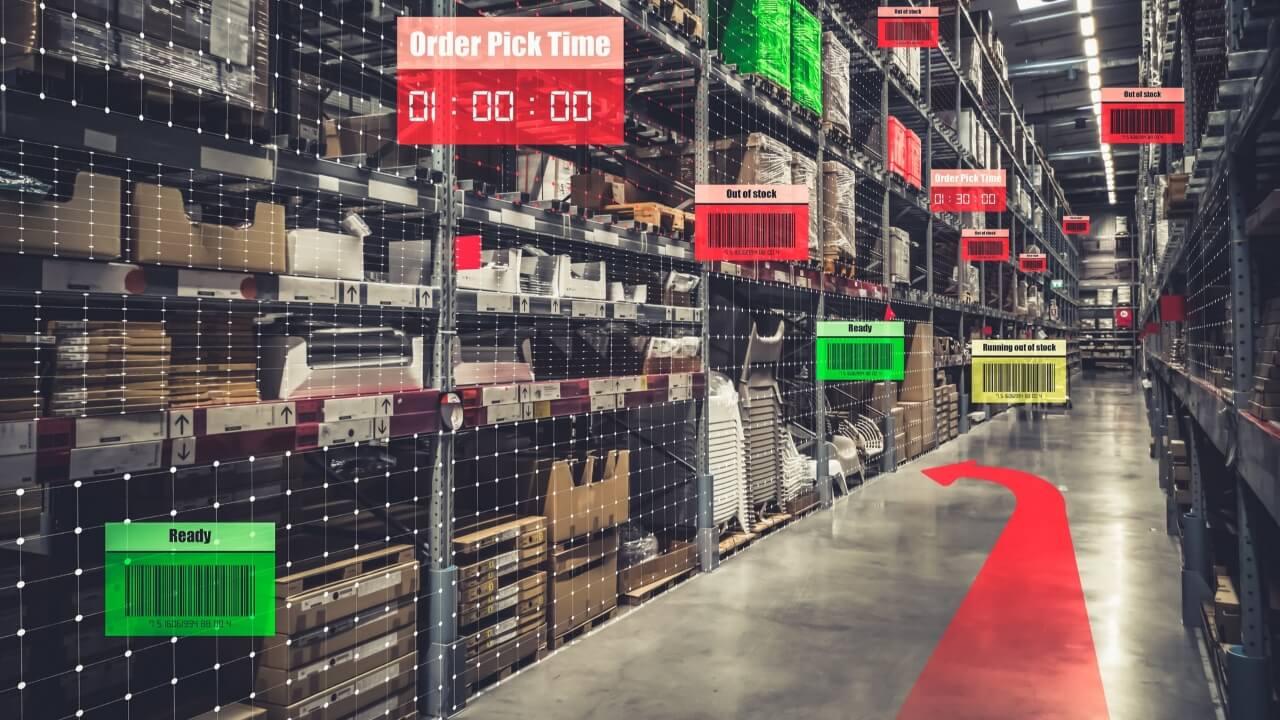
Hey folks the best way to learn is by doing so. Welcome to the video service that unlocks and reveals the hidden value in your system. Hi, my name is Martin, in this video, we're going to focus on SAP's available to promise scope of check, and we're starting with what the requirements are to promise against what you have. I'd imagine I'd be preaching to the choir if I rattled off a stats related to being able to provide a quality promise to our customer. Being able to make a reliable and keep a promise to the customer in some areas is a right play and a competitive differentiator. So Kristie, without further ado how would you take us there? Thanks Martin. Today's topic might be a little bit controversial. Why of course you should be able to promise against what you have. Why would you not be able to do that? Sadly, the reason is that some of us do not have reliable inventory, let alone confirmed schedules for replenishment. If you are in this boat, not to worry. We're going to walk through what you need to do about it. So let's get into SAP. Let's explore the setup for the scope of check. Let's talk through the qualifiers for extending it, and let's understand the impacts. The most important thing is to be very honest about where you are, where you want to go, and why. This will lead you to the how and that's the doing that needs to be done before moving along. So today we're going to go in and look at some of the details around what we call a stage one scope of check. And what this is, the rules that we are putting in place to do our availability check to be able to make that promise to the customer and in this case the very starting stage of that is being able to promise against what we have. So that would be our inventory and you may be sitting there going, why are we even talking about whether we can promise against inventory or not, and that's because in order to be able to make a promise against inventory you have to have a degree of confidence that what the system says that you have is indeed what you have. So, if you don't have timely transactions, if you are not passing your cycle counts, or you're not doing them at all, there may be some cases where you have material that's just ineligible for even checking against what it says that you have, and that would be the first place to start to be on your journey to being able to get quality ATP is just simply starting with being able to promise against the inventory that you have. And, if you think about it, as we go through and we're making these promises, it's really the gateway to all the subsequent processes in the supply chain, right? Once we've made that promise to the customer, we want to make sure that we are moving towards trying to achieve it. And so, we've got a variety of videos in this series that talk through different stages of ATP and what the different requirements are and how we get further along in that journey. And so think about this as the very first one, so if you're getting started your ability to be able to promise against the inventory that you do have. Now, it's also really important to note that as you go through the process of making promises to your customer, that there are going to be a variety of times that you are going through and you're conducting that availability check. So sales orders first entered as you're going through, you're making changes to that order, if you're running rescheduling, in the background as a batch job, if you are going to move that sales order from sales order into delivery, then you're checking and potentially with a different rule set all together because there's two things that work together, it's the scope of check, which is what we're going to take a look at today and then the checking role which says based on what stage we are in the process, we would want to have different rules that apply. So let me give you the most simple example, so let's say that you're moving from sales order into a delivery. At the time that you're checking your sales order, you may allow it to check against something like production orders. That would be against scheduled, that would be a stage 2 check. If you were moving into delivery, you might say, Okay, well now that I'm moving into delivery, I want to make sure that I actually have that inventory on hand. So, you're actually restricting that check further because you're starting to put more things in motion. So, the first piece of information to your customer was a commitment, but it was data and information. The second time, you're actually coordinating physical activities. So, now you really want to make sure that before you start to commit that inventory fully to that delivery, that it is in fact on hand and ready to go. So, different process steps, different availability checks as you go through. So, if you're wondering where the availability check lives, a couple of different places in the material master, but we'll focus here today on MRP3, and you'll see that this lives in the same place where you're setting your planning strategy, which we know is how the system is going to react and respond to the demand signal, as well as your availability check down at the bottom. So this is the type of availability check that is in place. And what we're going to do here is we're going to go in and do the availability overview. So I also could have gotten to that right from the stock requirements list, I simply could have gone up and gone into the availability overview and I can get to that under the environment menu. But I can also just go directly in here to CO09, and in this case for my checking rule, I'm going to look at it based on the sales document, and I'm going to go ahead and pop in here, and so what this is going to tell me is what we have currently out there, and then what has been confirmed. And I can go in here and I can look at my scope of check and start to understand what we're checking against. And in this case, this is a very broad scope of check. It's very, very mature. And I'm going to break it down now for you into what this would look like if you were doing a stage one or kind of an inventory only. This means that I trust the inventory that I have on hand, but I'm a little less confident with anything that might be beyond that horizon. And you can see that our end of lead time here is 12/11, today is 11/27, so just about two weeks out into the future is what we're seeing, and you can see we have a total of 25 pieces coming in based on the production orders that we have out there with 19 pieces going out, but we also have zero stock on hand. So let me show you what it would look like if we were doing a scope of check that considered just inventory only. Okay, so if we think about this, so if you've not seen this before, these are the rules that apply to your scope of check, and you'll see the availability check up here. This is related to the scope of check that we're pulling, this is what we're seeing here, it's a rule set that is going to create the inclusions and exclusions for what we are going to account for in the ATP check. And then the checking rule, so when this is applied, in this case for a sales order versus a delivery, or if it was on the production side at the time that we do a planned order versus a production order create versus a production order release. As we move further and further along that cycle, we're going to want to restrict those rules a little bit more. So if we were counting only on our inventory, what we're going to see is a lot of population over here in the stock overview, and what these tick boxes are for the things that we want to include or exclude. For example, if we had high degree of confidence that our inventory was in pretty good shape, then we're going to allow for checking against inventory, and we might include our safety stock, we would generally recommend that, and then we can start to consider if it's stock in transfer, so maybe you have a sister facility that's really close by, inventory counts are pretty good, you can count on that coming in on time, and you might include stock in transfer, or you might include your quality inspection stock. So if you've got a good amount of reliability in your quality inspection process, and you know that those things are releasing timely, and everybody is going through and reviewing them, then you might be able to include quality inspection stock. Now, think about these as being in order, so for example, if you didn't include quality inspection stock and that was part of your process after goods receipt, then you wouldn't want to include anything in the scheduled horizon, like a production order or a purchase order that was coming in. So that's just a side note, it's very, very important. And then these next two include block stock or include restricted use stock. Just as a reminder, block stock in SAP terms is anticipated to not be available for use, so it's generally not going to be included. Okay, and so these are the things that fall into kind of the inventory that we have on hand, and then as we come over here, we see a combination of in and outward movements, and so in our next video about stage two, I'm going to talk through the incoming pieces, but we also want to consider outgoing, so for example, if you have a sales order, we're doing a sales order availability check. We definitely want to include deliveries because they already have stock that's associated with them and likely also sales requirements, so anything that is out there we've already promised against another sales document, we don't want to double dip on that. So those are the kinds of things that you would include, so if you're starting with the stage one, you're likely going to see include safety stock, possibly include quality inspection stock, that's the one you really want to consider, and then over here, you would likely include sales requirements and deliveries in order to make sure that you're fully accounting for what you have outbound as well. So the screen is a little confusing if you're not used to it because it is both in and outward movements but if you really think through the different descriptions here, or if you go any further explore the field, you will see additional information. We'll also have another video that will walk through the replenishment lead time, so stay tuned on that, but that is if you are making a promise against your replenishment lead time, let's say for example, you were in an environment where you really couldn't count on your stock, lead time was the better information for you, that was your only option that might be something that you consider if you're on an extended lead time situation where you've got a particular bottleneck or capacity constraint that you're working through and you're on an extended lead time, then that may also come into play for you as well. So, couple of different options there, but again, starting with what you actually have is the first step in trying to be able to make that and keep that promise. So when that order comes in, you might be accepting the requested delivery date. You might have an estimated ship date in mind based on your overall market stated lead time and then you're actually making that confirmation for go ahead as soon as that inventory is either in quality inspection or has been fully released into unrestricted stock. Welcome back. In this demo, we covered a few important things. First, the difference between making and keeping a promise. Second, what the ATP scope of check looks like. And third, a few of the variations on the most basic scope of check options and how the system reacts to them. It's a journey, and this is simply Step 1. Thanks, Kristie. ATP is an exercise of honesty, integrity, and commitment. It's also an ongoing journey that needs to begin with basics and then grow from there. There's no question this is a hot topic with a lot of differential considerations. Thank you for getting the conversation going, Kristie. Hey folks, if you want to learn more about this topic, ATP, or any other topic related to your customer service, please check out our other videos and of course if you have a particular question, feel free to submit it below.